if you've read my blog for any length of time, you probably know that i like to shoot. that means, i like to reload, so that i CAN shoot, because shooting is not a cheap sport. i posted an entry about my reloading bench
here, with a picture of the bench.
well, i've been pretty spoiled over the years. one of the things i really like about where i work is the bench tops. i know, seems pretty mundane, but it's true. i really like the workbenches. they are a pair of heavy duty drawer cabinets topped with a thick maple butcher block top. i have been looking for one of these tops to build a bench for years. but being the basic cheap charlie, i have resisted spending the big bucks required.
and then...
craig's list had a post for 4 maple bench tops. COOL. i called, and they were still available. $10.00 each, and they were mine. on my way home, i stopped off at
Grainger and picked up a set of 36 inch adjustable bench legs. time to make sawdust!
as always, click the pictures for more sizes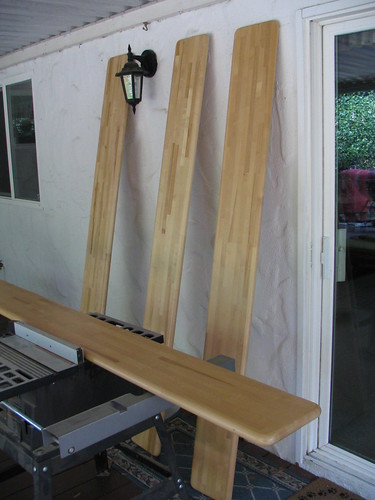
so i took the two best (they were all new, so that was really a stretch to determine the "best one"), and only trimmed off the bullnose rounded side on one side, and took both sides off the other two.
then i drilled each cut side for three 1/2 inch dowels
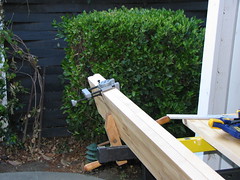
here they are, ready for gluing
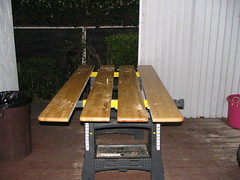
once the whole thing was glued together and clamped, i measured and drilled the mounting holes
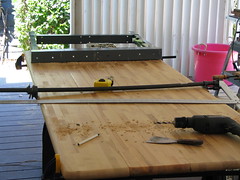
then, i mounted the top to the bench legs using the recessed holes i'd just drilled. that way, i could fill the holes with maple colored wood putty, and have a smooth surface.
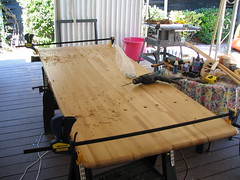
then, i puttied the seams and mounting holes, and sanded the surface smooth for varnishing. notice the trim rails. i figured i might as well use the edges i cut off for something, and a nice neat edge rail will keep things from rolling off behind the bench once i put it into use.
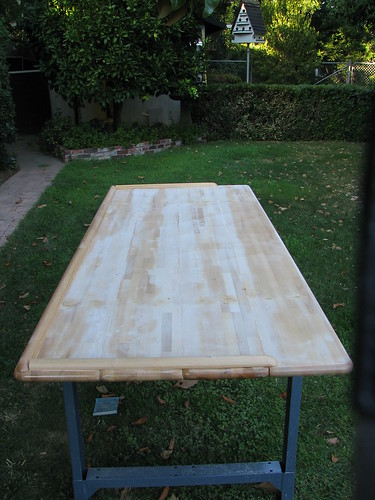
i moved the table into the shop, and then varnished it with oil based varithane. i put on three coats, lightly sanding between each one. i have to say that it looks damned good. i'm pretty proud of the job.
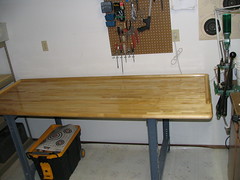
once the varnish dried, i put an "x-brace" on the back of the legs with plumber's strapping, and bolted a board to the bottom of the back legs to keep it from wobbling when using the press.
so, the next thing was to move the press over to the new bench, and move some of the reloading stuff over too. i drilled and chamfered a hole behind the press to mount my magnifying light. that is one handy gizmo to have on a reloading bench. especially when your eyesite isn't as sharp as it once was.
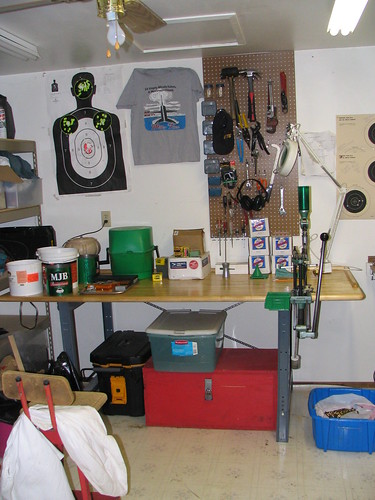
the red box is my primer and powder box i built out of 1 inch plywood, put together with small nails. that way, if it catches fire and detonates, the box just flies apart rather than hold the force and then explode like a very large hand grenade.
like any good reloader, i am an untiring range rat. and an accomplished scrounger. this tub has only 9mm cases. i'm guessing over 10000, but that is probably low. i also have similar tubs, filled about the same, for a number of other calibers that i reload for.
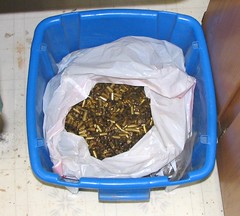
reloading: true conservation in the "use, reload, reuse" vein.
and in keeping with the fact that i was a submariner in a different life, i stuck one of my favorite submarine t-shirts up on the wall. we were "ordered" to not wear these when comsubpac found out about them.

just for comparison's sake, here's what my reloading bench looked like before i started tinkering
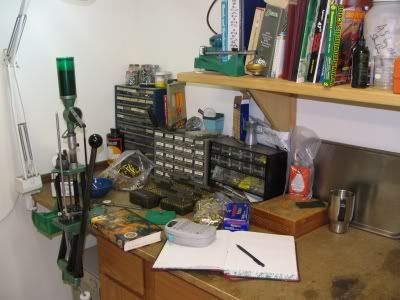
so, i started on friday evening, and put the final coat of varnish on sunday afternoon, and moved the press and all the junk today after work (monday), once the final coat had set.
so, whacha think?
Labels: project, reloading bench
